I love spending my free time perusing magazines or Pinterest for trending home decor style and colors. All that admiring gets me itching to start new design projects though, so it’s a good thing I have a patient hubby who doesn’t mind my artsy spirit and an ever changing home! I’ve redesigned my daughters rooms 3 times each since we’ve lived in our home. I can’t help it……as they grow, their personalities change, which encourages me to create a new space that inspires them.
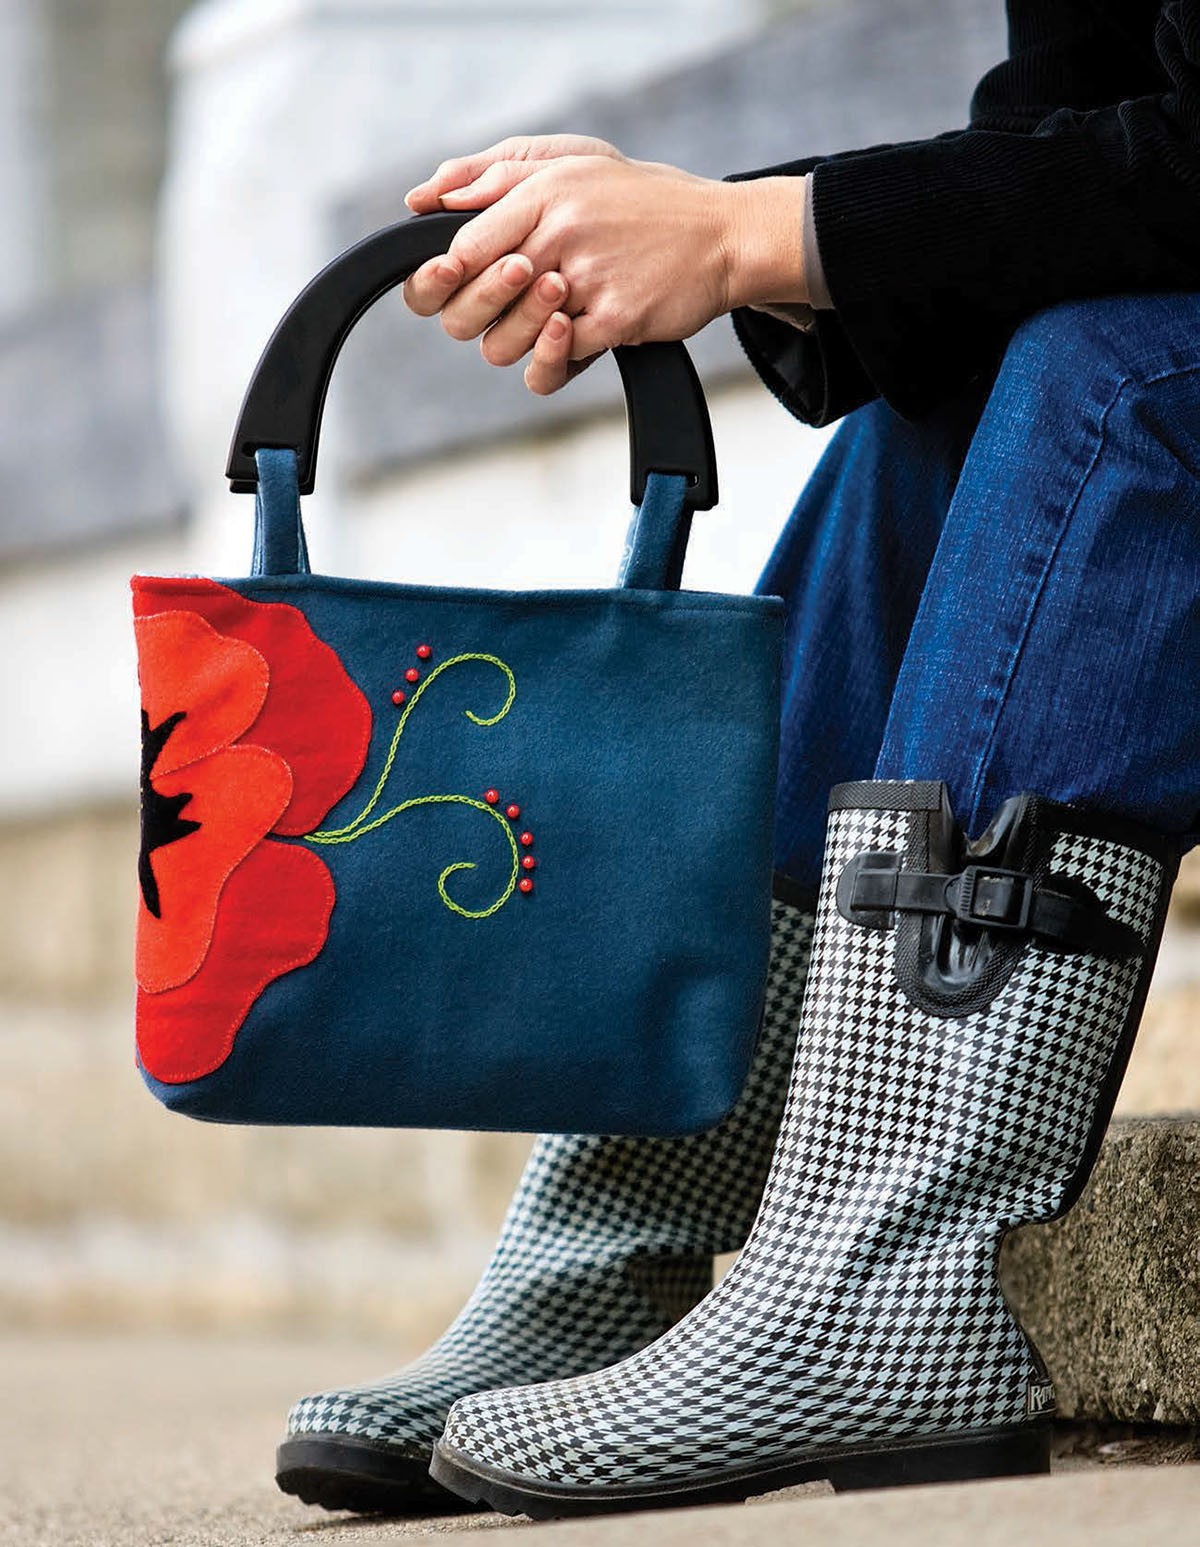
Finished Wall w/ Houndstooth Pattern
My youngest daughter has a style all her own. I like to call her my “Punky Brewster” because it signifies her love for the mismatched and eclectic. About a year ago I changed her wall color from a vibrant purple to a color I thought was going to have a hint of soft lavender (reason being because we were trying to sell our home and make things more neutral….. that’s another story), but it ended up looking white on the walls. I couldn’t help but be disappointed as it definitely didn’t inspire Miss S.Since we decided not to sell our home afterall, and improve what we had, it was game on trying to decide how to add personality back into my darling girl’s bedroom. She requested fushia, turquoise, and purples…..she doesn’t shy from color. I wanted to incorporate these, but didn’t want to commit to the whole room being that intense, so we selected to create a focal wall. That is when I discovered Cutting Edge Wall Stencils. I loved the thought of adding a pattern to the wall rather than a single paint color, but knew I wanted to avoid wallpaper, which would be difficult to remove when I decide to redecorate in a few years… and you can bet I probably will. Cutting Edge Stencils has a huge variety of patterns, everything from damask and chevron to florals and Moroccan prints. Since we were looking for something that could relate to a bohemian prep vibe, we selected the Houndstooth pattern.
Focal Wall- trying to decide color pattern
Okay, so I’ll tell you another thing about me, I tend to stray from making things easy on myself. Instead of following a pattern, I usually throw in an extra step. In the case of our Houndstooth selection I could have stuck with using one color and rolled on the paint, but I ended up using three colors and brushing the stencil by hand. My goal was to shoot for a slightly irregular, dyed fabric feel. 10 hours later!!!!, I completed the wall. All that time was worth it though, because when my daughter came in for the “reveal” she started squealing with joy! Yay, a satisfied client……that’s all that matters.When you receive your stencil it comes rolled up, so let it lay flat for a while before starting. My stencil was about 24″ x 30″, a pretty good size. I used painters tape to adhere my stencil to the wall. Because my walls are textured I added more tape throughout the process to keep the lines as crisp as I could. I clipped on the Stencil Level from Cutting Edge, a fantastic tool to help keep the pattern straight across the wall, and I was ready to begin. The most challenging part for me was deciding on my color pattern. I ended up choosing fuchsia for the main color and introduced a few random areas of lilac and violet. I was surprised to learn you can use acrylic paints, like you’d find at the craft store, for stenciling. So I spent only $5 on paint for the whole wall!
Moving / Lining-up Stencil
To stencil, my first task was to get a good brush, then I dabbed it with paint that I poured onto a plate and brushed it back and forth on a paper towel to remove most of the paint before I started to stencil. By moving the brush in circular motions around the stencil edges and into the middle of each cutout area I completed the design. Acrylic paint dries very quickly so it allowed me to move the stencil as soon as I was done with each section. It is VERY important to avoid using too much paint. When that happens, the paint bleeds under the stencil and you’ll find yourself going back later to touch up!
Completed Wall
To move the stencil, I lined up the stencil pattern with the last row I completed then checked the stencil level to confirm I was accurate in my placement. Next I pushed down the tape and got to work. Cutting Edge includes a free top stencil with their wall stencils which is a nice bonus. The top stencil finishes the pattern all the way to the ceiling where the regular stencil’s border obstructs. I opted not to do this part as we’re adding crown molding to the room and it would be a waste of my time. I did test it out though and had a slight problem lining up my pattern so I scrubbed off the acrylic and painted over the area with my base color.
Time to add accessories!!
Miss S. loves her colorful wall and so do I! Thank you Cutting Edge for introducing me to the art of wall stenciling. Wall Stenciling is a wonderful way to take your room from disappointing to inspired. If you’re a beginner, don’t be afraid….I’ve never stenciled a wall before this project……besides the patience needed due to the time consuming nature of it, Cutting Edge’s stencil made it simple to match the pattern as I moved across the wall. I might suggest trying a simple design and rolling it on with a stencil roller.