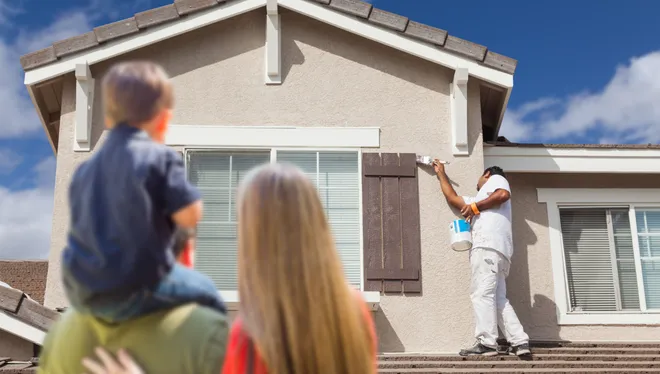
The exterior grade plaster is also called stucco. It’s a cement-based finish. Plaster is available in dry form, which, when combined with water, produces a thick paste. Contractors and homeowners can apply wet or dry plaster to the outside of a house by hand or machine. The plaster forms a durable and strong outer shell for the house as it dries. The exterior plasterers in auckland comes in many different colors and textures. This is a very popular finish for homes because it can handle hot summers as well as cold winters. Accidents, house settlements, or gaining access behind solid masonry can damage the plaster.
REPAIRING HOLES
Step 1
Hand-remove any loose or broken plaster until you can’t break anymore.
Step 2
Use a masonry cold chisel and a hammer to create a squared off area around the broken plaster. In all directions, chip away a 2 inch area larger than the damaged area. Brush dust and debris from the hole using a small handheld broom.
Step 3
Cut a piece of metal screen mesh to the exact dimensions of the hole. To cut the mesh, use metal shears. Use galvanized nails or heavy duty staples to secure the metal mesh in the hole.
Step 4
Mix plaster and water in a bucket until you get a thick paste.
Step 5
Apply a thin coat of epoxy-based adhesive to the edge of the hole.
Step 6
Use a trowel to press the plaster into the metal mesh. Fill in the half depth of the hole with plaster. Drag the notched edge on a trowel into the wet plaster in order to create ridges. The trowel can be dipped into the plaster to apply a second layer of plaster on top of the first. The second coat should be built up to the same level as the existing plaster.
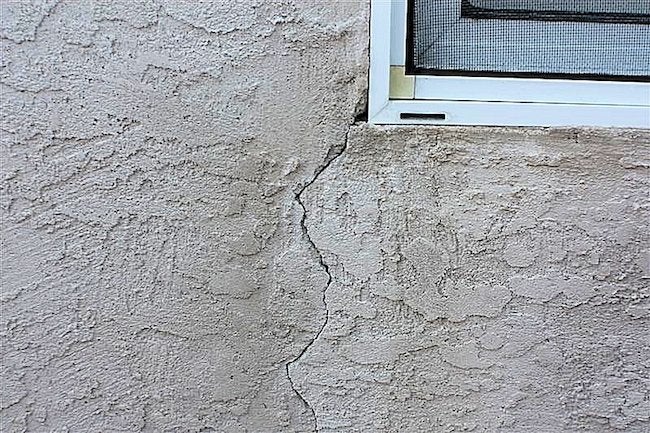
REPAIRING CRACKS
Step 1
With your fingers, remove loose pieces of the crack. Insert a trowel with a pointed tip into the crack to remove loose pieces.
Step 2
Dust and debris can be removed with a small broom or a brush.
Step 3
Mix exterior-grade cement with water to form a paste.
Step 4
Apply a thin coat of epoxy-based adhesive to the edges.
Step 5
Dip a flexible putty blade into the plaster. Then, press the plaster deeply into the crack and continue to build it until the surface is flush.